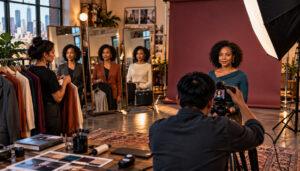
The camera can be very hard on us. Ever seen a corporate photo and wondered who it was? Modern cameras are like super sharp spies, showing every little detail. Flyaways and uneven beards are the first to get noticed under bright lights.
At Hero Shot Photography, we aim for a simple goal: look your best without overdoing it. What “polished” means varies by industry. In business, it’s about looking professional and understated. But in creative fields, a bit of personality is okay. For job seekers, it’s about showing who you really are in a clean, simple way.
Finding that natural look is a challenge. It’s about finding the right balance between too little and just enough. This guide will show you how to get your hair, makeup, and grooming right for headshots without using too many products or complicated steps.
Skin prep hydrate prime and shine control for all skin types
The secret to a great headshot starts with skin prep. It’s not just a routine; it’s the base of a captivating headshot. A well-prepped face reflects light evenly, giving that “clean plate” look photographers love.
Start with a gentle, fragrance-free cleanser to remove the day’s dirt. Use a small amount of moisturizer, first on your cheeks, then the T-zone. Hydrated skin looks better in photos, avoiding a flaky look.
For oily skin, moisturize lightly and control shine. Use a small amount of mattifying primer on your forehead, nose, and chin. This keeps the T-zone in check.
But don’t overdo it with powder. Blotting between shots is key. Too much powder can look like “beige cement.” Avoid heavy powders for deeper skin tones and harsh exfoliation for fair skin.
Hydrocolloid patches can help with blemishes. Apply them overnight for the best effect. Ice your face to reduce puffiness. The goal is to manage light reflection, not eliminate it.
Right skin prep can make your headshot stand out. For more skincare tips before makeup, see this guide. Remember, shine control is key to looking photo-ready!
Makeup options natural corporate glam and male focused grooming looks
Makeup for headshots is a delicate balance. You want to look real yet polished. Let’s explore the best ways to shine in your professional photos.
The natural look is often sought after. But it’s not about looking like you just woke up. It’s about looking like you’re ready to go, without looking too done. This requires skill, as cameras can be harsh.
For corporate professionals, aim for a polished look. Think low-shine skin and tidy hairlines. You want to look competent, not like you’re trying too hard.
Men’s grooming has changed a lot. Today, it’s about looking put together without looking like you’re trying too hard. A matte clay in your hair and clean skin are key.
In creative fields, you can show more of your personality. Your glasses, curls, or beard can add character. Just make sure you’re well-groomed.
For those on a budget, simple things can make a big difference. A good moisturizer, a fresh haircut, and blotting papers can be more effective than expensive makeup.
| Grooming Essentials | Purpose | Recommended Products |
|---|---|---|
| Gentle Cleanser | Removes dirt and oil | Any mild face wash |
| Moisturizer | Keeps skin hydrated | Lightweight, non-greasy |
| SPF | Protects from sun damage | Broad-spectrum SPF 30+ |
| Mattifying Primer | Controls shine | Translucent powder |
| Matte Clay | Styles hair without shine | Low-shine pomade |
The range of “camera-ready” looks is wide. It can be from “I woke up like this” to “I have a glam squad.” Your choice depends on your industry and personal brand. Remember, grooming is about making a good impression, so choose wisely!
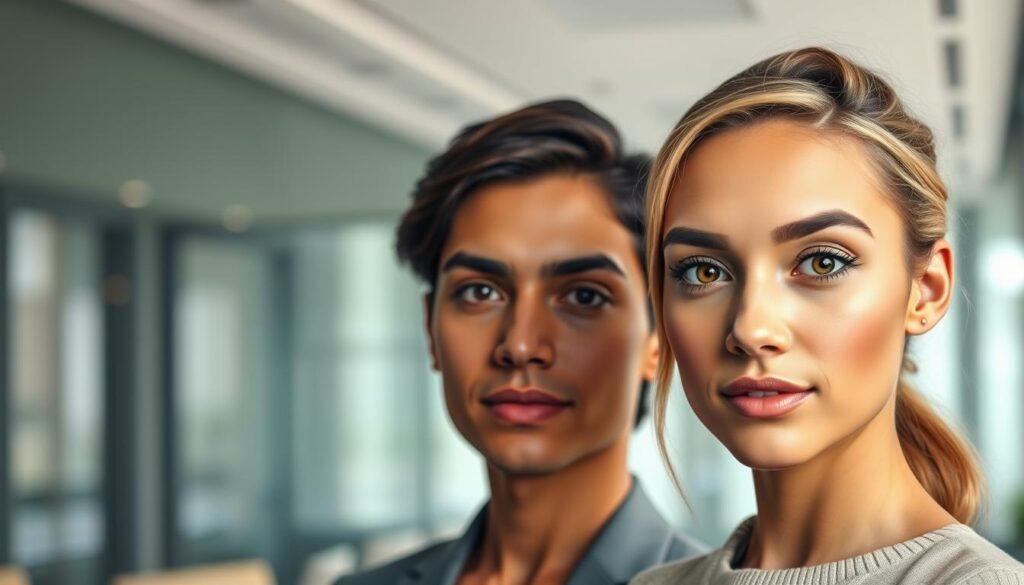
Eyes brows lashes glasses friendly choices and anti glare tips
The eyes can show confidence or tiredness, making them key in your headshot. When the camera snaps, the area from brow to cheekbone is your most expressive part. This is where we can turn weak spots into strong ones.
Dark circles under the eyes can be a big problem, but there’s a solution. They come in two types: brown and blue/purple. Using the wrong concealer is like mixing coq au vin with pad thai spices—it’s wrong. For brown circles, use a peach-toned corrector. For blue shadows, use yellow-toned. Just a small amount is needed. Be gentle, as this skin is very delicate.
Brows are also important, acting as the face’s architects. A neat brow can make your whole face look better. We’re not aiming for Instagram-perfect brows; just clean edges. Think of it as adding a bit of structure without overdoing it.
If you wear glasses, glare can be a problem. Studio lights can reflect off lenses, making your eyes hard to see. Carry a microfiber cloth to clean your lenses. If your glasses have an anti-reflective coating, you’re already ahead. Glasses add character to your face, so make sure they fit right.
The goal is to look natural. You want your eyes to look awake and ready, not too made-up. Embrace your unique features and let your eyes be the star of your headshot!
| Concern | Corrector Color | Application Tip |
|---|---|---|
| Brown Darkness | Peach | Half a grain of rice, tap gently |
| Blue/Purple Shadows | Yellow | Half a grain of rice, tap gently |
| Glare from Glasses | N/A | Use a microfiber cloth |
| Brow Grooming | N/A | Tidy, but not over-groomed |
Complexion undertones foundation concealer color correctors and long wear setting
Understanding your complexion’s undertones is like cracking a secret code; get it right, and you shine. If you’ve ever stared into the mirror and wondered why your foundation seems off, it’s likely a matter of undertones. Think of them as the astrology of makeup—everyone has one, yet most people don’t fully grasp theirs. Get it wrong, and you might look like you’re wearing someone else’s face.
So, what’s the scoop? Warm undertones thrive on yellow or golden bases, while cool undertones need pink or neutral shades. Neutral undertones can dance between the two but should steer clear of extremes. A simple test? Check the veins on your wrist in natural light. If they’re blue or purple, you’re cool; green suggests warmth; a mix indicates neutrality. Not foolproof, but definitely more reliable than a department store sales associate who’s had one too many coffee breaks.
For headshots, the goal is to even out your complexion without erasing it entirely. Full-coverage foundation applied wall-to-wall can read as mask-like under studio lighting. Instead, think strategically: spot-correct where needed, use a lightweight base elsewhere, and let your actual skin texture shine through. Trust me, the camera loves a little honesty—it gives the autofocus something real to grab onto.
Let’s not forget about color correctors. These little wonders work on the principle of complementary colors. Green neutralizes red (goodbye, angry blemishes), peach tackles blue-brown (under-eye circles on medium skin), and lavender helps with sallow yellow tones. The trick? Apply them sparingly and only where needed, then layer your regular product on top.
Now, let’s talk about long-wear setting—the final boss of headshot makeup. You want your face to withstand studio heat, nervous energy, and possibly multiple outfit changes without sliding off. The answer isn’t slathering on more product; it’s about strategic application. Use a translucent powder pressed (not swept) into the T-zone, and keep blotting papers handy between takes. A setting spray that doesn’t double as hand sanitizer is also a must. Remember, camera-ready makeup that lasts isn’t about building a fortress on your face; it’s about creating a flexible, breathable system that moves with you.
Lips and cheeks tones that support your brand palette and last on set
In the world of headshots, lips and cheeks are key. They can make or break your look. Ignore them, and your photo might feel off.
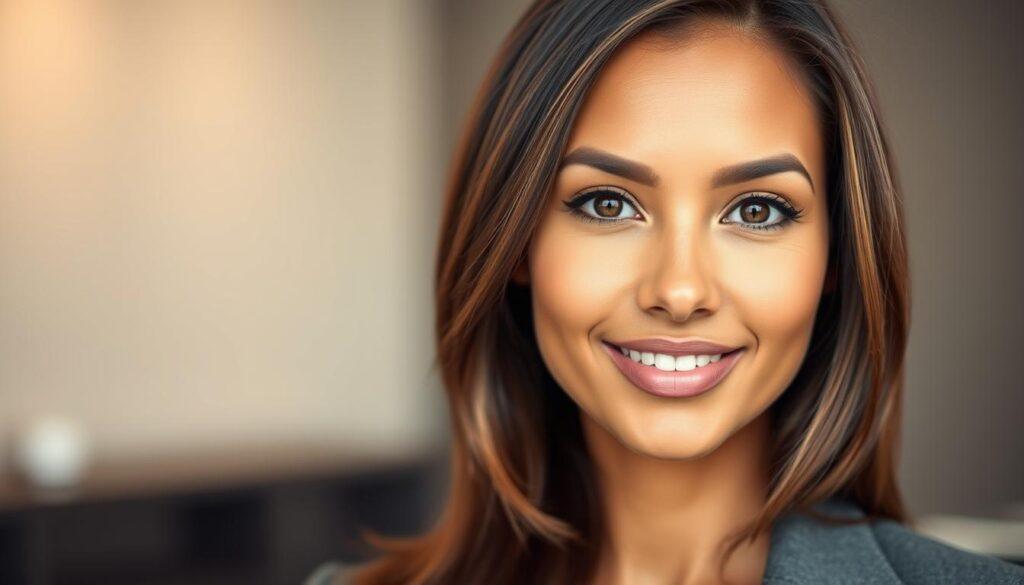
Start with the cheeks. A bit of color here shows health and energy. But remember, the camera can make colors look 15-20% less vibrant. So, apply a bit more than you think you need, then blend until it looks just right.
Cream formulas work best for cheeks. They blend into your skin, giving a natural look. Now, let’s talk about lips. You want them to look like they have blood flowing.
Chapped or pale lips can send the wrong message. Use lip balm the night before and again in the morning. Always blot your lips to avoid looking greasy under studio lights.
For lip color, choose shades close to your natural lip tone. This isn’t the time for bold colors unless you’re in the lipstick business. Your lip and cheek colors should match your brand’s palette. Warm tones are good for friendly brands, while cool tones work for more serious ones.
The goal is to look like you’ve just been for a walk, not like you’ve been at a makeup counter. And don’t forget to check your teeth for lipstick before the photo is taken. A single smudge can ruin a perfect headshot.
| Brand Type | Recommended Cheek Tone | Recommended Lip Tone |
|---|---|---|
| Approachable | Warm Peaches | Soft Terracotta |
| Corporate | Cool Roses | Muted Mauve |
| Creative | Bright Coral | Berry Pink |
Hair strategy cut color timing frizz control beard trims and necklines
Getting the right hair look for headshots is more than just a haircut. It’s about timing and technique. You want your hair to look polished, not freshly cut. This is why waiting a week before your shoot is key.
Waiting a week lets your style settle and avoids irritation. If you’re trying a new style, wait 10-14 days. This ensures your look is perfect for the camera.
Choosing the right products is important. Avoid high-shine products that can look greasy. Matte clay is great for texture without shine. For a classic look, use pomade sparingly.
When applying, mix the product in your palms and apply from back to front. A quick hairspray can set your style. For fine hair, a brief blow-dry adds lift. Use less product for thick hair, and define curly hair with cream.
Beard grooming is also key. A well-kept beard shows authority, while an unkempt one suggests disorganization. For light stubble, aim for 1.5-2.5mm, and 3-4mm for a fuller look. The neckline should curve naturally, not look forced.
Beard oil adds a nice finish. Use 2-3 drops and wipe off excess shine. Timing your color touch-ups is also important. Aim for 4-6 days before your shoot to avoid surprises.
| Hair Type | Recommended Product | Application Tips |
|---|---|---|
| Fine Hair | Matte Clay | Blow-dry for lift; apply from back to front. |
| Thick Hair | Pomade | Use sparingly to avoid weighing down. |
| Curly Hair | Cream | Define curls and avoid touching. |
| Beard | Beard Oil | Apply and wipe off excess shine. |
Nails hands and small details watches rings and clean lines
Headshots are all about details. Nails and hands can make a big difference. Imagine showing up to a meeting with chipped nails or messy cuticles. It’s not the best start.
Hero Shot guides you to trim nails and clean cuticles before your shoot. This shows you’re reliable and successful. For business owners, looking polished is key. It’s about how clean and neat you look, not just the brand.
Hands tell a lot in a headshot. They might be on a desk or holding something. But they also show if you’re put together or not. Chipped nails or messy cuticles say you didn’t prepare well.
Clean lines are important. This means neat nails, clean cuticles, and simple jewelry. A watch can be powerful, but a scratched one looks careless. Rings should be clean and not show soap or lotion.
Tattoos on hands or wrists are part of your look. Make sure they’re moisturized and clear. Nail polish should be fresh and not chip easily. A deep burgundy can look professional, while neon green might be too bold.
Small details are big in photography. The camera zooms in on everything. So, keep your nails, hands, and jewelry clean and simple. This shows you’re competent and professional.
| Detail | Importance | Tips |
|---|---|---|
| Nails | First impression | Trim and polish regularly |
| Hands | Professionalism | Moisturize and groom |
| Jewelry | Complementary | Choose minimalistic styles |
| Watches | Power detail | Keep clean and functional |
Don’t let your hands tell a story of neglect. Paying attention to these details can make your headshot stand out. For more on grooming, check out this article.
Retouching boundaries what edits cover and what must be prepped
Retouching isn’t magic; it’s a detailed process that needs solid groundwork. Many think a few clicks in Photoshop can fix everything. But that’s not true. The difference between what can be edited and what needs prep is huge—think Grand Canyon huge.
At Hero Shot, our retouching policy is clear: we do light retouching, but the best results come from well-prepared skin. Too much powder can make you look dry and grey. And if your hair or beard is too oily, it can look sweaty and hard to fix later.
Common mistakes come from last-minute choices. For example, getting a haircut the day before can cause sharp lines or redness. Trying new products on the morning of the shoot can cause irritation. And changing your look too much can make people question who you are.
Being authentic is key. A headshot should show you at your best, not like you just used a beauty app. Trust drops when your image doesn’t match reality. No amount of editing can turn unwashed hair into intentional texture or fix a patchy beard.
What retouching is good at is making small improvements. It can even out skin tone, soften shadows, and remove flyaways. But it can’t create texture or get rid of shine that’s already there.
So, get ready what needs to be ready, and let retouching handle the rest. The goal is to look like yourself, but a bit more polished. In headshots, looking consistent is important. A headshot that looks different can hurt your professional image.
Pro vs DIY when to hire HMUA timing budget and on set touch ups
Choosing between a professional HMUA and DIY can be tough. It’s like a beauty gamble. Hiring a pro means you’re investing in expertise that makes your look pop under studio lights. They know how to make your hair and makeup flawless, even when cameras are rolling.
But DIY can be great if you’re ready. If you have a good grooming routine, stick to it. A timely haircut, neat beard lines, and consistent skincare can make a big difference. Planning is key. A five-to-seven-day haircut rule can save you from last-minute stress.
For grooming, most men can spend $50 to $150 on essentials. Invest in a quality trimmer and a concealer that matches your skin. The rest can be affordable. On set, touch-ups should be light. Blot before powdering, and control flyaways with a small amount of product.
Always check your beard symmetry in natural light. A little attention to detail can make a big difference. If you’re doing multiple looks, avoid overusing products. Instead, focus on re-shaping and blotting. The aim is to look polished without overdoing it.
In the end, whether you choose pro or DIY, preparation is everything. Stick to your grooming plan and let your confidence show in your headshots.